Ballbar testing
Product Details:
Ballbar testing Price And Quantity
- 1 Set
- 15000 INR/Set
Ballbar testing Trade Information
- 50 Set Per Month
- 7-10 Days
Product Description
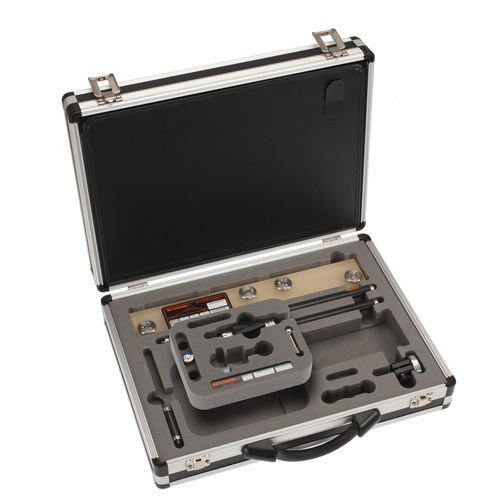
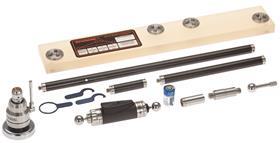
The Renishaw QC20-W ballbar system consists of:
- the ballbar itself (essentially a very high accuracy, telescoping linear sensor with precision balls at each end)
- two precision magnetic mounts, one attached to the machine table and the other to the machine spindle or spindle housing.
In use the balls of the sensor are kinematically located in the magnetic cups. This arrangement enables the ballbar to measure minute variations in radius as the machine follows a programmed circular path around the mount on the machine table.
The data collected is sent to a PC, where Renishaw's software calculates overall measures of positioning accuracy (circularity, circular deviation) in accordance with international standards such as ISO 230-4 and ANSI/ASME B5.54 or in Renishaw's own analysis reports. This report uses a unique mathematical analysis to diagnose many additional individual machine errors from the set of linear readings. Data is displayed graphically as well as in numeric format to aid and support diagnosis.
Ballbar testing provides a simple, rapid check of a CNC machine tool's positioning performance to recognised international standards (e.g. ISO, ANSI/ASME etc) allowing users to benchmark and track the performance of their machines and to quickly diagnose problems that may require maintenance and the error sources that produce them.
Regular ballbar testing of machine tools helps to:
-
ensure accurate parts, first time, from CNC machines
-
reduce machine down-time, scrap and inspection costs
-
demonstrate compliance with machine performance and quality management standards
-
implement fact based predictive maintenance

Price:
- 50
- 100
- 200
- 250
- 500
- 1000+
Other Products in 'Calibration Services' category
GST : 06ABLCS9702Q1ZJ




 Send Inquiry
 Send SMS
